SAT TRAC — Part 9 Deployed
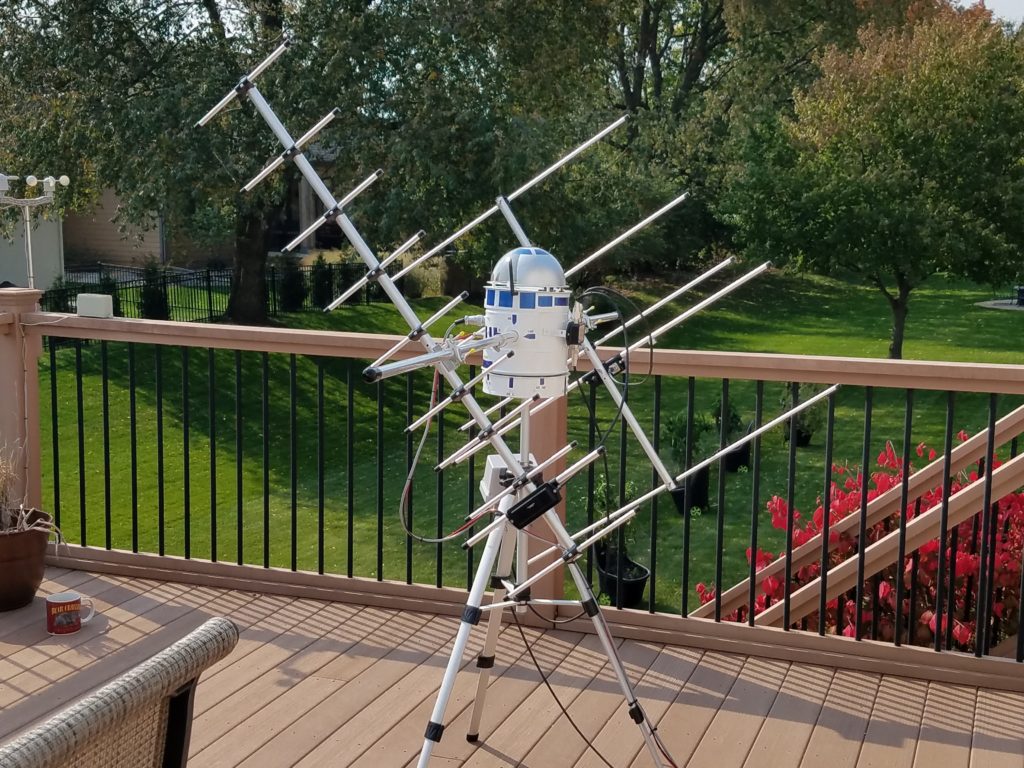
It’s 10/06/2020, and a beautiful sunny fall day at 41.5 NL, -93.5 Long, West Des Moines Iowa. Today is the day we deploy ‘ZW3’ Sat Trac droid on the deck! It’s all dressed up, aligned to due north, and it’s all systems go… Here is ZW3 in the south, Azimuth(AZ):180, Elevation(EL):55 degrees parked position:
Loading up SatPC32, I see XW-2A in a high elevation pass coming over the house from the north… Since ZW3 is capable of Azimuth 0-360 & elevation of 0-180, I thought it would be as good as it could get. I would catch it over the top of the house and track it to the SSE to approx. AZ;150, EL18. I know doppler would come in play, so I quickly got the uplink and downlink feedback in sync in my headset, and quickly gave a quick “CQ Sat”… My first attempt! What happened? VA3ECO, Chris, hanging out at the Lake of the Woods, gave me a call. Wow, the signal was strong and very clear. The software was working to keep us on the same frequencies. Back and forth we went and I told Chris this was my first contact on a bird. He was patient and complementary. After 2 minutes, the pass was over. What I learned is you need to be as prepared as possible. I like the Chinese satellites as they pass at high elevations across my QTH. My window of operation is usually 3-5 minutes with houses, trees, and my proficiency coming into play.
Before being deployed, the ZW3 Sat Trac system was extensively tested for the last 3 months. It was left on continuously and I found, issues with the power management circuits, end of travel (EOT) logic and switches, tension on the drive belts, and potential droid corrosion. Here is what I did:
The FET power management system was replaced making the drive motors real happy. Made a new High side FET design system and small power supply for the logic was the answer.
The EOT switches and logic were extensively tested for any runaway occurrence. Should never happen, but never is a long time… Small internal SPST switches were installed to reset the unit after the issue is encountered.
A stout spring was attached to the azimuths idle spindle. This kept the tension just right. Too tight and the motor will wear out quickly. Too loose and the AZ will jump a tooth or two. Just right will give you excellent tracking… Yay, excellent tracking it is!
Putting the droid out on the deck will expose it to all of the elements. Even thou the structure is galvanized, Many holes were drilled attaching various components inside and out. So here is what I did:

1). Remove the Plexiglass dome, camera, and camera mount. Keep it away… I mean away from acetone unless you want to see it get destroyed…
2). Remove anything from the exterior I didn’t want to be painted, like the diplexer, power cords, coax, etc. Cover the tripod and base with craft paper and seal with painters tape.
3). Clean the galvanized surface with acetone. It will remove oil, fingerprints, tape residue, and anything else that should not be there. Use chemical safe gloves and have good ventilation in your workspace. Thoroughly wipe the surface with disposable Jobsite paper towels.
4). In a well ventilated and floor protected area, spray all external surfaces with a Rust-Oleum “Clean Metal Primer”. This will be an excellent base for the finish coats to stick. Don’t rush. Give it an hour or two to dry.
5). Now, put a light first coat on. Don’t spray too close. We don’t want drips. Wait about 30-45 minutes and give it a light second coat. Let it dry overnight. Touch up in the morning to your liking.
6). Mask and tape the dome to screen as you like. ZW3’s dome is half-covered with silver paint. This shields the FPV cam from too much glare. I used a paint-safe for most plastics.
7). Use metal HVAC tape to create the outer look. Cut with scissors or paper cutters. I used a dab of glue stick to stick my shapes to a shallow box. Then, I lightly sprayed it with primer. Then about an hour later, sprayed it with the R2D2 blue. When dry, place against the unit and see how it looks. When acceptable, peel the backing and place it on the unit. Work out the air bubbles to get that cool look. If you screw it up, remove and do it again or replace the shape.
8). Put it in an area that will allow a 360 rotation. Be prepared to enlighten non-hams on what exactly it is and how it works!
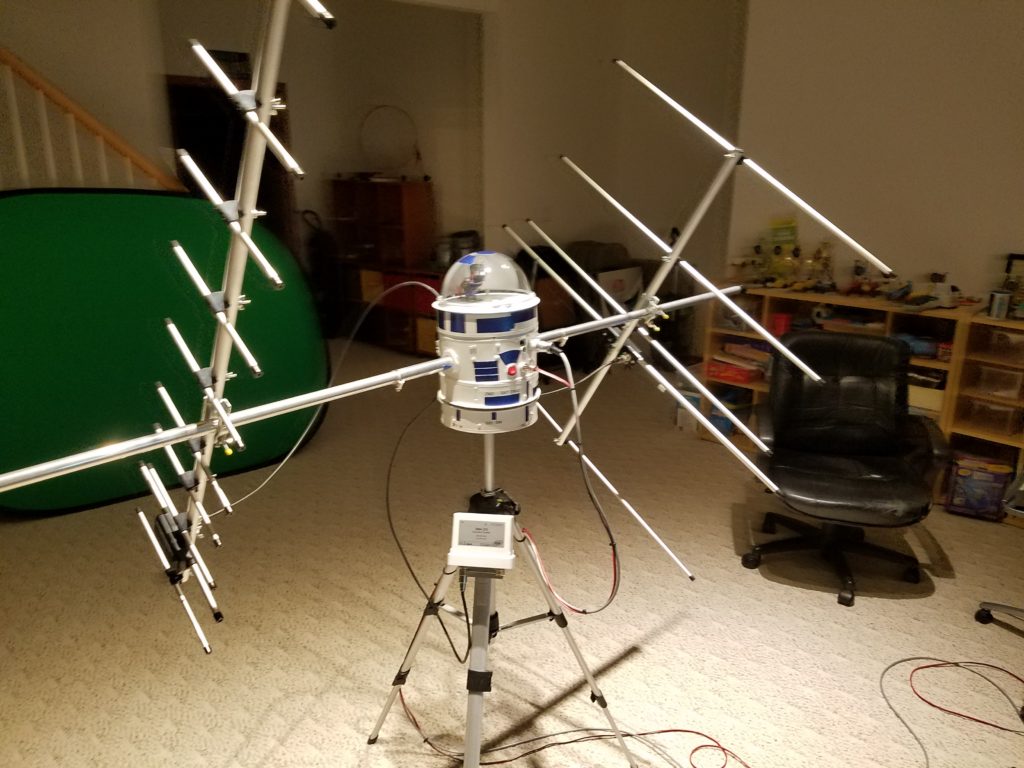
Was it worth it… Yep! The 2.4ghz RC, turns on FPV camera. The 5.8ghz cam gives me a look through the droid’s dome. I can see the yagi positions. If you plan to put something on your deck that looks trashy to non-hams, expect pushback from the XYL. I know my XYL is a big Star Wars fan! She chuckles and gives me a big grin. I think she likes ZW3! What do you think?
ZW3 SAT-Trac Droid
Summary of ZW3 Sat Trac droid features:
- Connects to the base controller using RJ45, 9pin, or 2.4ghz RC. Controlled by GS232 commands and SatPC32.
- uses the Arduino Mega 2560. Max power is 12V @ 1 amp. Easily powered by solar cells and deep cycle batteries.
- at 22lbs it’s portable. Yagis can be removed very easily and ZW3 can be unscrewed from the tripod.
- has a very low wind load. Recently we had 35-50mph wind gusts and it handled it well.
- has an internal fan to prevent the internals as well as the camera from overheating. So far, everything stays cool.
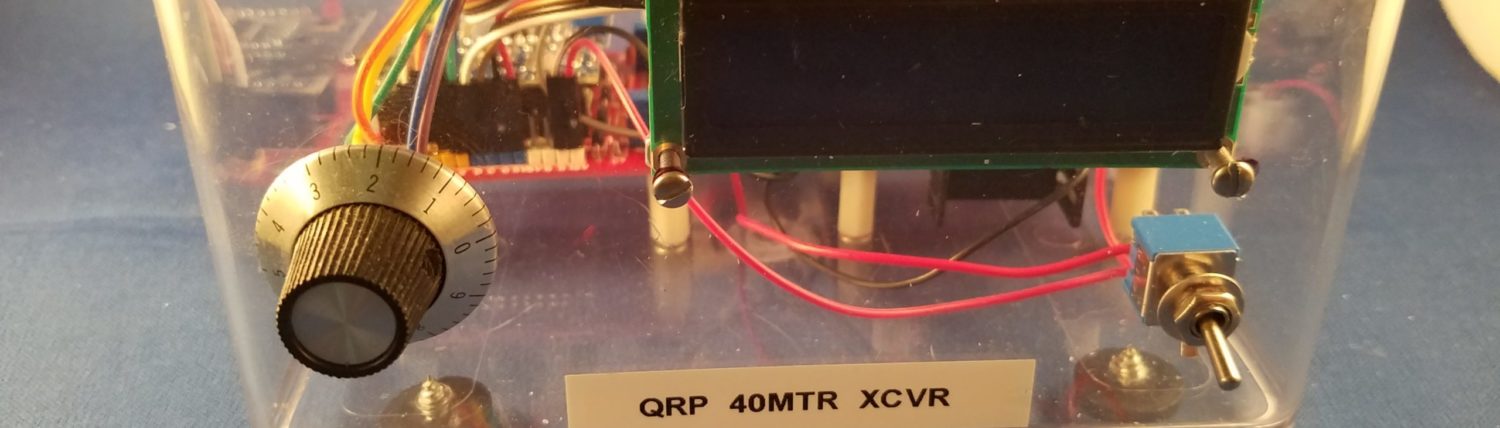
- uses sealed precision potentiometers for long term service. These were epoxyed to resist moisture.
- self-protecting EOT switched and hardware.
- easily connected to a laptop for software updates.
- adjustable HD tripod with bubble level.
- Adjustable motor speed control. Currently, set for smooth and quiet operation. For terrestrial use, increasing the speed will get you to the coordinates much faster.
- internal FPV camera to confirm what ZW3 is doing.
- booms will support 5lbs of antennas on each side. Currently, the Diamond antennas and cables are less than 2 lbs each. A 23cm antenna @ 1lb will be added soon!
- ZW3 can elevate 0-180 degrees.
- the base controller as well as ZW3 is equipped with Arduino Mega 2560 and a NRF24l01+LNA+PA. Control is capable of up to 1000meters.
- yagis can be mounted vertical or horizontal on the spacious booms.